Trending

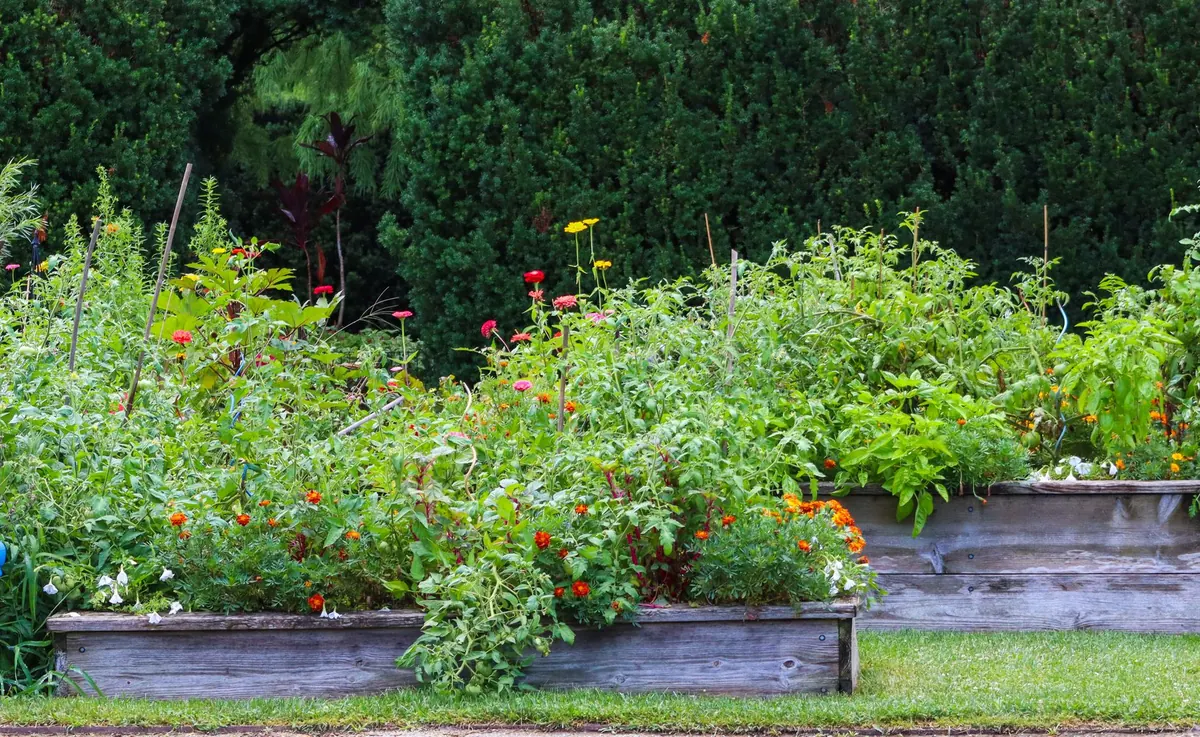
Building a raised bed is one of the most straightforward improvements you can make to a garden, and it pays you back for years. You get warmer soil in spring, better drainage in wet spells, and a clear boundary between your vegetables and the rest of the plot. The whole job — frame, lining and fill — is a solid weekend's work, and you can spread the cost by doing it in stages.
Sunlight matters more than anything else. Most vegetables want six hours or more of direct light in summer, so watch your garden at midday before you commit. Avoid the lowest point in the plot, where water sits after rain, and keep a sensible gap from hedges, fences and mature trees — roots and shade both steal from a bed.
Then decide the dimensions. The measurement that really matters is reach: you should be able to get to the middle of the bed without stepping on the soil. If you can walk round both sides, 1.2m wide is comfortable for most people. Against a wall or fence, go no wider than 60–90cm. Length is up to you, though long straight runs are easier to net and cover with fleece.
Depth is where people often overspend. Fifteen to twenty centimetres of soil suits salads, herbs, onions and most beans. Thirty centimetres covers the majority of crops. Go to 40cm or more for long carrots and parsnips, maincrop potatoes, or if you would rather garden standing up or from a seat.
Timber is the part of the build that decides how long the bed lasts, so it is worth a few minutes' thought.
Things to avoid: old railway sleepers that still smell of creosote, reclaimed timber of unknown origin, and pallet wood stamped MB, which indicates chemical treatment. Use boards 38–50mm thick for beds deeper than about 25cm. Thinner boards bow outwards under the weight of wet soil unless you brace them, which rather defeats the saving.
If you are unsure what a piece of timber has been treated with, use it for a decorative border instead, or line the inside of the bed with a permeable membrane to keep soil off the wood.
You need less than you think: a saw, a cordless drill, a spirit level, a mallet, and a tape measure. For a 2.4m × 1.2m bed at 30cm deep, that is two boards at 2.4m and two at 1.2m for each of two layers, plus four corner posts about 45cm long.
Butt joints are perfectly adequate here. If you want a tidier finish, cut the long boards to run past the corners and screw through the ends into the short boards.
Lay a thick layer of plain cardboard over the base before you fill. It smothers grass and annual weeds, then rots away within a season, and worms work it into the soil for you. Remove the tape and any staples first.
You do not need plastic under a raised bed, and it is usually a mistake — it stops drainage and creates a soggy sump. The exception is a bed placed on hard standing or over invasive roots, where a woven membrane underneath makes sense. A permeable membrane stapled to the inside faces, where the bed backs onto a fence panel, will keep the fence drier and extend its life.
Work out the volume first: length × width × depth in metres gives you cubic metres. A 2.4m × 1.2m bed at 30cm deep is about 0.86 cubic metres, or roughly 860 litres of growing medium. That is the number that decides your budget, so measure it properly.
The cheapest sound mix is roughly half decent topsoil and half well-rotted compost, with a handful of grit worked in if your soil is heavy clay. Pure compost looks wonderful and then shrinks alarmingly, dries out in summer and leaves your plants sitting too high. Never use subsoil or the spoil from digging foundations.
To cut costs, fill the bottom third with logs, prunings, cardboard and half-finished compost, then top up with your soil and compost mix. This slow-burning layer holds moisture and feeds the bed as it breaks down. It does settle, so plan on topping up in autumn.
Timber and haulage prices move around, so treat these as a starting point and ring round before ordering.
A realistic first-year total for one bed, buying everything, sits somewhere between £150 and £250. Council green waste compost and a well-kept home compost bin can knock a serious hole in that. When ordering topsoil, ask where it came from — cheap soil riddled with horsetail or bindweed is no bargain.
Never walk on the bed. That single habit keeps the soil loose and airy, which is most of the benefit of raising it in the first place. Top up with 5cm of compost each autumn rather than digging, and let the worms do the mixing.
Rotate your crops loosely — don't grow the same family in the same spot two years running — and feed hungry crops like courgettes and tomatoes through the season. Check the frame each spring for soft patches, and replace a single board rather than rebuilding the whole thing. Do that, and the bed will keep cropping for a decade or more.
Photo: Karen F / Pexels