Trending

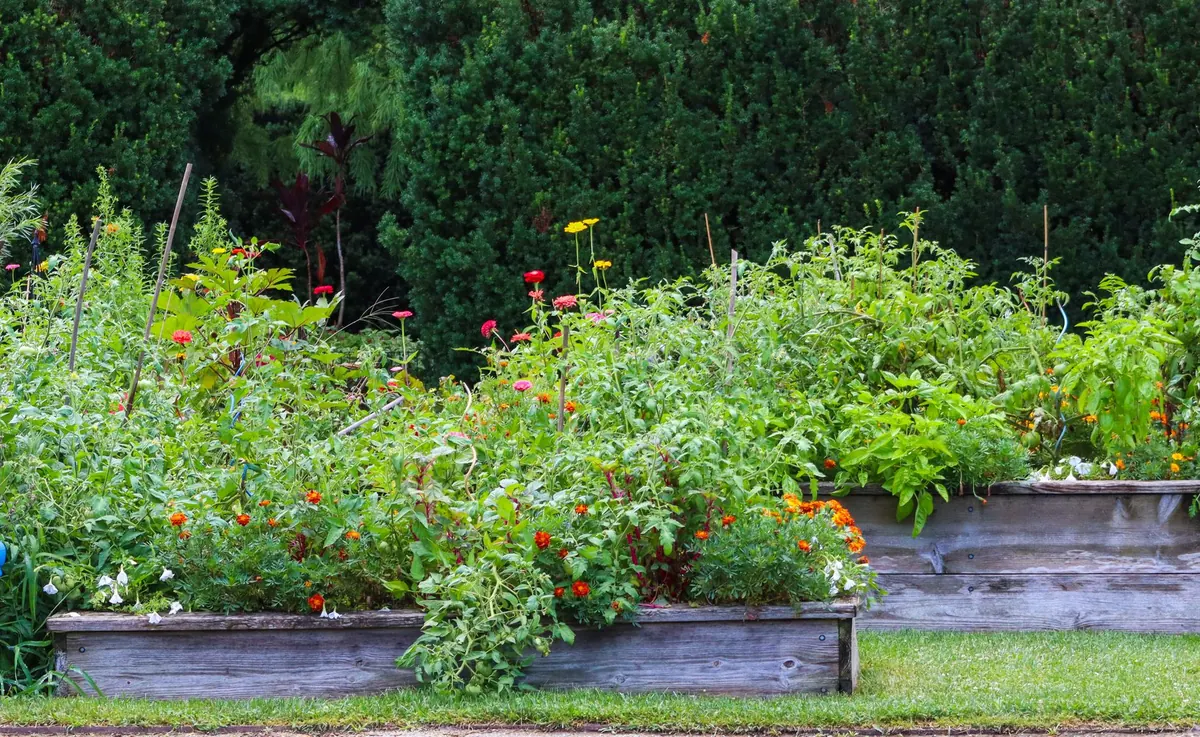
Most of us were taught that a good bed starts with a spade. Dig it over, break up the clods, pull out the weeds, and start again. No-dig gardening asks you to do almost the opposite: leave the soil alone and build it up from the surface instead. The soil underneath stays put, and everything you add goes on top as a mulch. It sounds too simple to work, and for some plots it genuinely does take time, but it is one of the most forgiving ways to grow vegetables — and by far the kinder one on your back.
The core idea is straightforward: soil is a living structure, not a blank medium you have to fluff up each year. Worms, fungi, bacteria, root channels and the crumb structure they create all take years to build, and a fork through the bed breaks a good deal of it. When you dig, you also bring buried weed seed to the surface where it germinates happily in the light.
No-dig gardening replaces that annual upheaval with a layer of organic matter on the surface. Compost, well-rotted manure or leafmould goes onto the bed, usually in autumn, and the worms and weather pull it down. You plant straight into the compost layer. It is not the same as doing nothing: a no-dig bed needs regular mulching and weeding, it just does not need turning over.
It is not a magic trick, and it is worth knowing the awkward bits before you commit a whole plot.
Compacted or heavy clay soil will not be fixed by compost alone in one season. If the ground beneath a new bed is genuinely solid, roots may struggle in the first year, and a raised bed with deeper sides is often the more sensible answer. No-dig also does very little for a site that already holds water badly — drainage is a separate problem.
Perennial weeds are the other hurdle. Couch grass, ground elder, bindweed and horsetail are not discouraged by a layer of compost; they push straight through and, in the case of bindweed, run along underneath it. Above all, do not dig them out — that chops the roots into fragments and multiplies the problem. Smother them instead, and be prepared to keep at it for a full season.
Finally, mulch costs money or effort. If you cannot make enough compost, you will be buying it in or hunting down well-rotted manure, and that is the main ongoing expense of the method. Cardboard covered in dry compost also repels water at first, so give it a thorough soaking as you go.
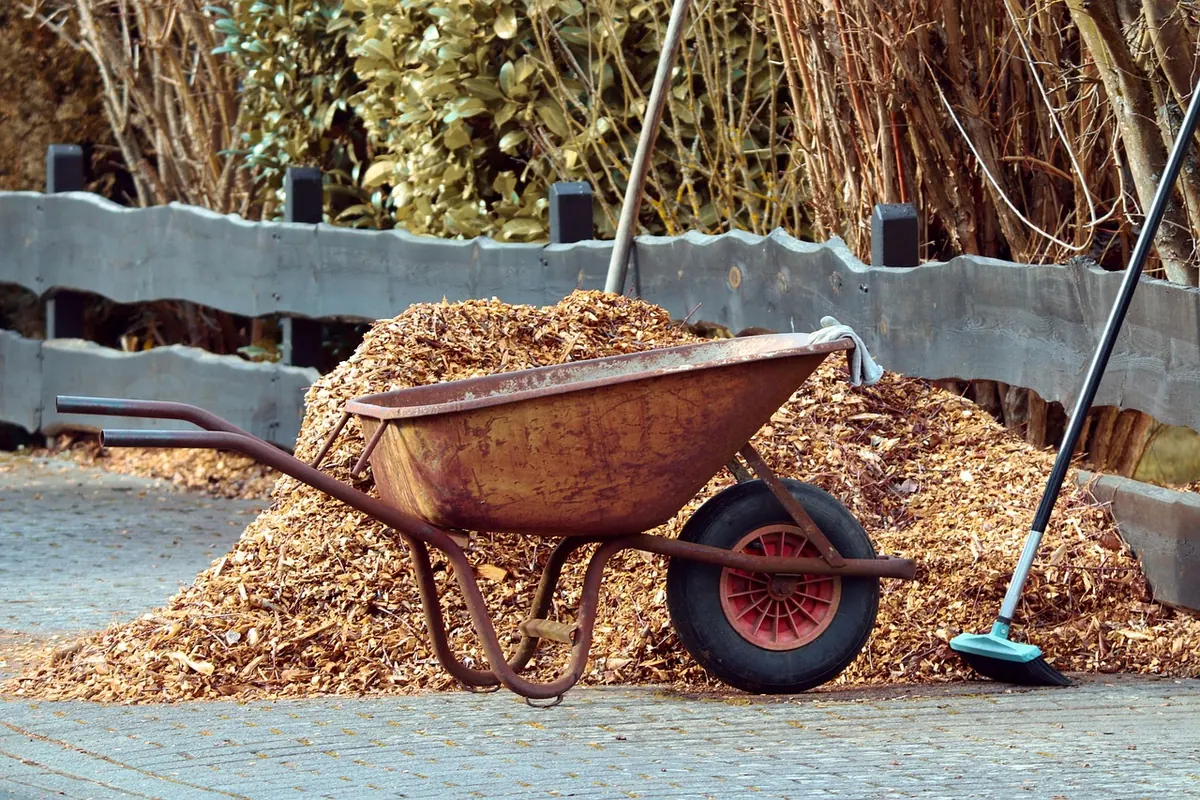
Mulch is the engine of the whole system, so it pays to know what to use. Homemade compost is the best all-rounder, followed by well-rotted manure, leafmould and spent mushroom compost. Grass clippings work in thin layers, but pile them on thick and they mat down and smell. Woodchip is better kept for paths, where it lasts well and looks tidy.
Autumn is the classic time to mulch, spreading a blanket over empty beds so winter weather works it in. Top up in spring before sowing, and add a thinner layer around hungry crops such as courgettes and brassicas in midsummer. Two rules are worth remembering: never mulch dry soil — water first, then cover — and keep material clear of tree trunks, shrub stems and the crowns of plants, where damp contact can cause rot. Fresh manure should be left to rot down before it goes anywhere near a bed.
Annual weeds — groundsel, chickweed, bittercress — are manageable. Hoe or pull them while they are tiny, and never let them set seed. A mulch of compost alone will suppress a good many, and any that appear are shallow-rooted and easy to lift.
Perennials need patience rather than brute force. Cut them back, cover the area with cardboard, then add a thick layer of compost on top and plant into it. Where bindweed or ground elder is running through a bed, a full season under a light-excluding cover is often the only realistic route, and you should expect to keep pulling regrowth from the edges. If you inherit a plot riddled with them, consider growing in containers or raised beds for a year while the covered ground sorts itself out.
One bed is enough for a first attempt. If you garden on a balcony or a small yard, the same principles work in a raised bed or a decent-sized pot: fill it with compost, plant into it, and top up each year rather than emptying and replacing everything.
Keep the soil covered as much as you can, all year round, whether that is with a growing crop, a mulch or a sheet of cardboard. Do not worry if the first season looks untidy or yields less than you hoped — no-dig beds improve steadily as the soil life builds, and by the second or third year you will notice the difference without doing anything dramatic. And if you do end up digging a bed for something else, don't treat it as a failure. No-dig is a method, not a membership scheme.
Photo: manfredrichter / Pixabay