Trending

A new allotment arrives with mixed feelings: the satisfaction of the key in your hand, and the quiet panic of standing at the gate wondering where to start. That panic is normal. Nearly every plot you admire has been through a stage of knee-high grass, a leaning shed and a mysterious pile of something under a tarpaulin.
The trick to a good first month is not to clear everything. It is to clear one workable area, get to know the soil you have inherited, and put a simple plan on paper before you spend a penny on seeds. Four weeks is enough to turn a daunting plot into something that feels like yours.
Before you pick up a spade, walk the plot slowly and take photographs from each corner. Note what is already growing, and pay particular attention to perennials: couch grass, bindweed, brambles, docks, ground elder. These are the plants that will shape your first year, because they come back. Annual weeds are easy; perennials need a strategy.
Measure the boundaries, check where the water trough or tap sits, and work out which parts of the plot are shaded in the morning and which catch the late sun. A hedge or a neighbouring tree can put half your plot in gloom, and it is far better to know that now than after you have built raised beds underneath it.
Then talk to the people around you. Neighbouring plotholders will tell you more in ten minutes than a website can: how firm the ground gets in winter, whether the water is turned off, whether there are manure deliveries, who the site representative is, and what the committee expects of you. Read your tenancy agreement too, especially the clauses on bonfires, sheds, trees and how much of the plot must be cultivated. Rules vary enormously between sites, so check yours rather than assuming.
Resist the urge to tackle the whole plot in a fortnight. Choose a patch roughly two metres by three, near the entrance or near the water, and make that your beachhead. Cut tall growth down with shears or a strimmer, then dig out the perennial roots with a fork rather than a spade. Do not hire a rotavator to deal with couch grass or bindweed: it chops the roots into fragments and multiplies the problem across every inch it touches.
Pick out roots by hand, shake off the soil and put them in a bucket for the tip rather than the compost heap. Then cover the cleared ground with cardboard weighted with stones, or black polythene, so it stays clear while you work on the next section. Over the following weeks, move along the plot in the same way, clearing and covering as you go.
Digging is hard physical work, especially if you are not used to it. Build up gradually, wear gloves and boots with grip, and stop when your back tells you to. If you have a heart condition, a history of back trouble or you are recovering from illness, speak to your GP before taking on heavy digging.
You cannot fix what you have not measured, and soil tests are quick and cheap. Take samples from several spots around the plot, mix them in a bucket, and use a home pH kit on the mixture. Most vegetables are happiest between pH 6 and 7. If your soil is more acidic than that, brassicas will sulk and you may want to add lime in winter. If it is very alkaline, potatoes are more likely to scab, so grow them in bags or choose a resistant variety. Blueberries are the exception: they want acid soil, so grow them in pots of ericaceous compost wherever you are.
Next, work out the texture. Fill a clean jar about a third full of soil, top it up with water, shake it hard and leave it to settle for a day. Sand drops to the bottom first, silt lands in the middle, clay sits on top. The proportions tell you what you are dealing with. Clay holds nutrients and water but is slow to warm up and heavy to dig; sand drains freely and dries out fast.
For drainage, dig a hole about 30cm deep, fill it with water and check it the next morning. If it is still full, you have a drainage problem and raised beds with plenty of organic matter will save you a great deal of misery. Whatever your results, the answer is nearly always the same: add compost. Spread it on the surface and let the worms do the digging.
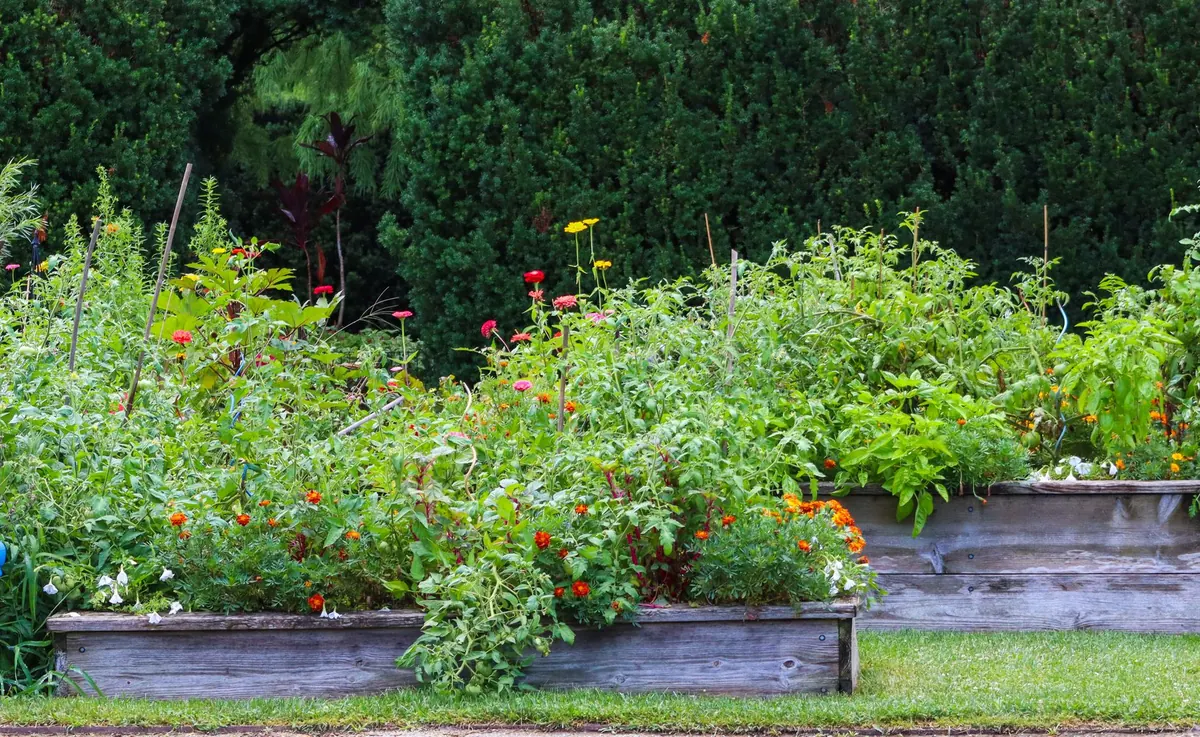
A rough sketch now saves a season of awkward decisions. Keep beds no wider than 1.2m so you can reach the middle from either side without standing on the soil. Make main paths wide enough for a wheelbarrow, and leave a generous gap between beds, because narrow paths vanish under courgette foliage by July.
Where you can, run beds with their long side facing north to south so plants get even light through the day. Sketch in the permanent features before the crops:
Then divide the growing area into four rough groups for rotation: roots, brassicas, potatoes, and legumes and everything else. Mark your beds on the ground with string and pegs so the plan stops being theoretical.
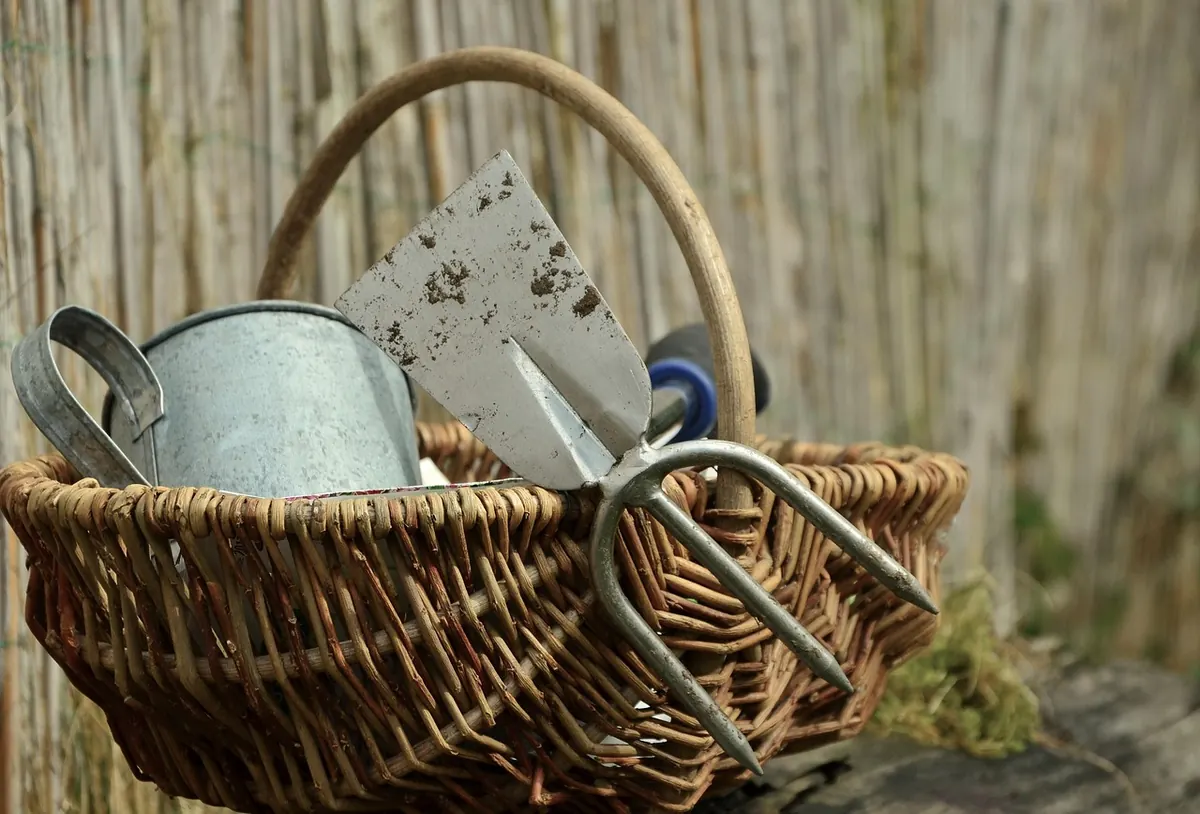
Good secondhand tools are often better than cheap new ones, and a file will bring an old spade edge back to life in minutes. Get a lockable shed or box sorted early, mark your tools with tape or paint so they find their way home, and never leave anything valuable on site overnight.
Half a plot in good order beats a full plot in chaos, so cover the parts you are not using yet and deal with them later. Aim for a routine you can sustain in a few hours a week: a short visit to hoe, water and pick is worth more than one heroic weekend a month. By the end of your first month you will have clear ground, soil you understand, a plan on paper and tools in one place. That is a proper start.
Photo: congerdesign / Pixabay